This is going to be a long post because I am going to try to do all the before and after pictures in one post. We did a lot of things to this place to change it into being ours. A quick recap of the major stuff before pictures: We took down wallpaper and paneling from every room, had the walls textured, and then painted. We put in a new back door where there wasn't one and a new dishwasher where there wasn't one. Replaced the carpet and linoleum. Painted the cabinets, altered the cabinets, and did new countertops. Put in new light fixtures and fans. And we did lots and lots of little stuff.
Here are all the before and after pictures of our house. I will also try to talk about what I did in each one.
Before Kitchen
 |
| The kitchen dining, and living area are all one big room. The kitchen has the old school cabinets that hang down so you can not see into the rest of the room unless you bend down which is kind of ridiculous. My idea was to take these out and make some hanging shelves. I ran into some problems with removing these so I ended up just altering these into hanging shelves which turned out pretty good and was a lot easier. We also ended up painting the cabinets which we did not originally plan but we are happy we did. We were really excited about having open shelves because we have lots of antique kitchen wares to display. And now you can see into the rest of the big room and the kitchen feels a lot more open After Kitchen  Before Kitchen |
 |
| This picture is after I had already put in the dishwasher. Notice the big breadbox also. |
After Kitchen

Before Kitchen
 |
| So, I removed the doors, panels, and some supports to make the cabinets into shelves |
After

Before
 |
| This was the dining area but we changed the dining area to a different spot so the kitchen flowed better into the dining area. |
After
 |
| This is now the computer desk and play area for the girls |
Before
 |
| This was a random area in the main room. The fireplace is a propane fake fireplace that they took out the back door to put in which makes no sense to me. I would much rather have a back door so we put one back in. |
After

Before Living Room Area
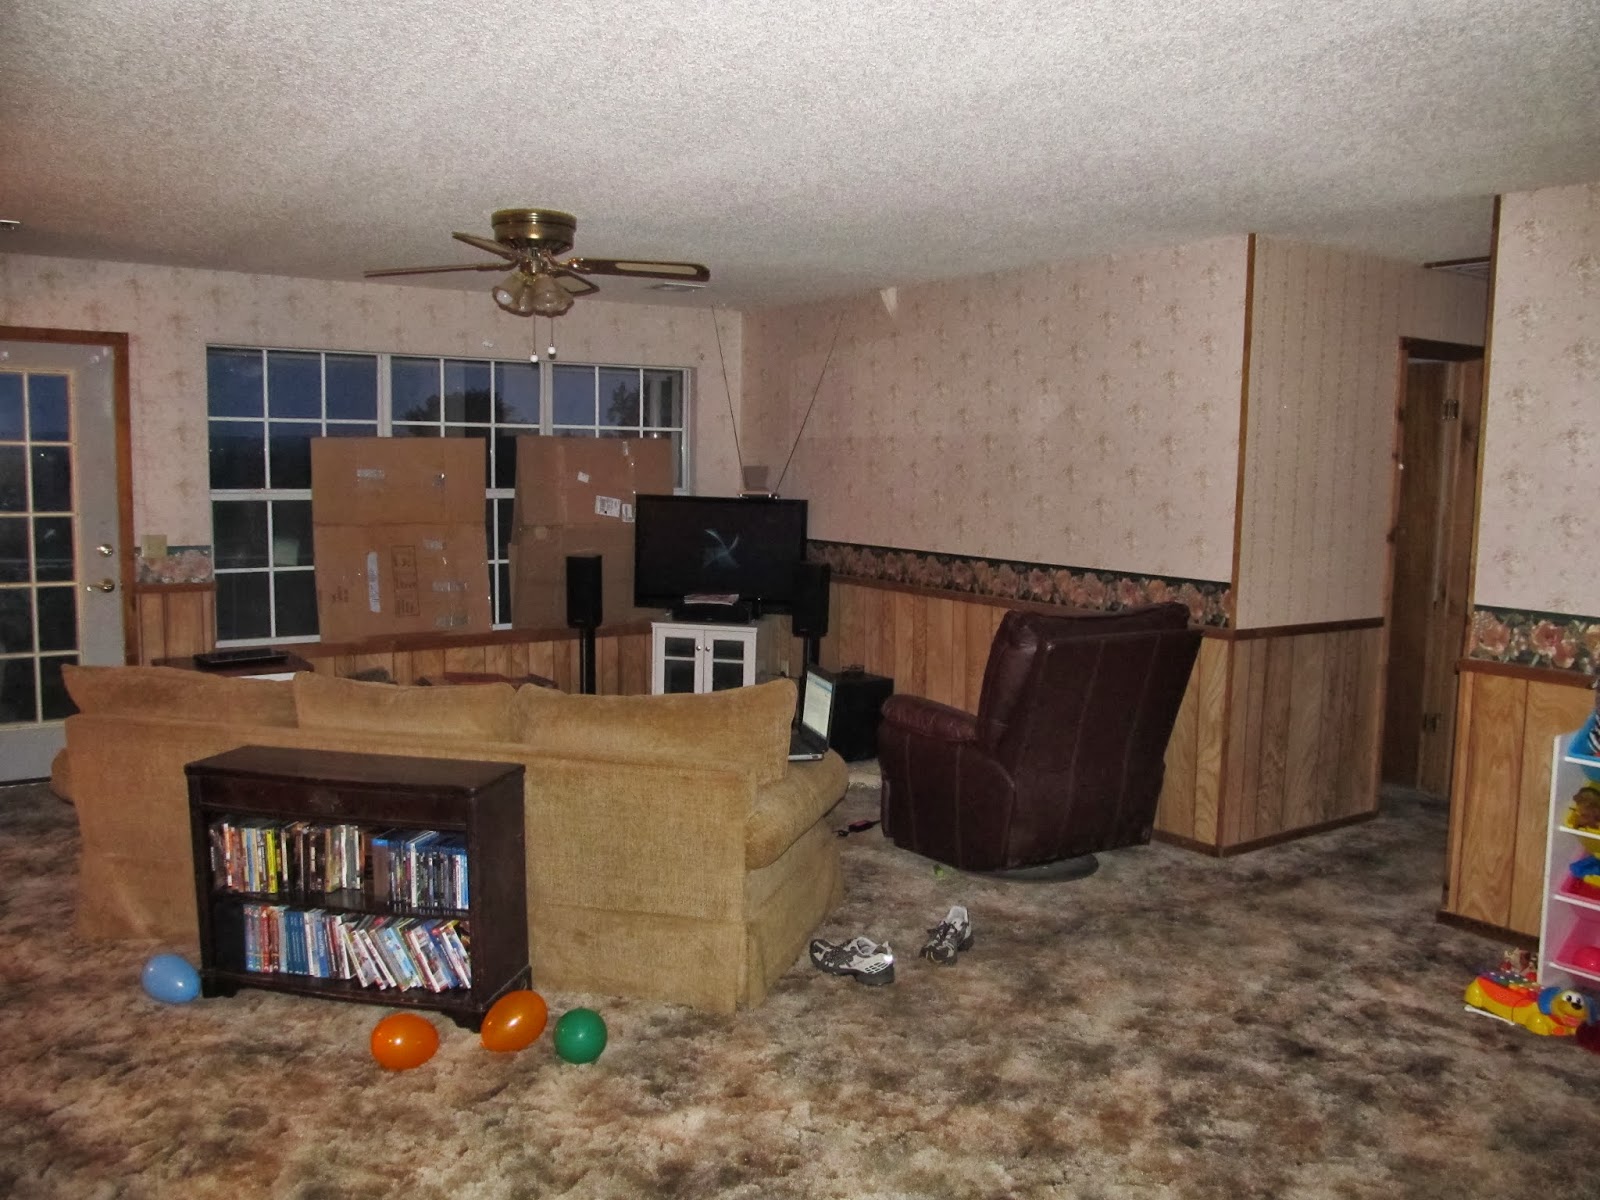
After Living

Before bathroom
 |
| I painted the cabinet and put a new counter top on. Installed a new medicine cabinet and light. Also had to install an exhaust fan because there was not one before. We also replaced the flooring in here. There was carpet in this bathroom which is gross. |
After

We also remodeled the bedrooms which I did not really get good pictures of but you can imagine bad wallpaper and paneling and now they are nicely painted.
Here are a few of my favorite things I did with the remodel. Some of these are ideas I had but was not sure how they would turn out but ended up pretty good.
New back door where we took out the fake fireplace.

This is a little entry wall by the front door. It was covered with...you guessed it...wallpaper and crappy paneling. I recycled the cedar strips that were between paneling wainscoting and wallpaper in every room and covered this wall with it. It turned out really cool looking (even better in person). This is also a great place to display our antique and interesting books.

Here is a close up of the hanging shelves made by altering the old hanging cabinets. I love being able to display our antique kitchen stuff, cool glassware, and my granny's dishes.

I came up with an idea to do horizontal boards in the kitchen as a back splash. I used pvc boards so water won't affect them and they are super uniform. I also put a small gap in them. I am happy with how it turned out, it is a really clean/cool look.

I decided to do horizontal boards on the bottom outside of the cabinets. I used different sized boards pieced together with different sized gaps and painted them

2 comments:
Looks really good.
wow you have been so hard at work. Looks wonderful!!anitag
Post a Comment